
Statement Styles: Crown Braid and Goddess Braids
Crown braids and goddess braids stand out for their striking appearance and accessible technique. These protective styles offer both low-maintenance daily care and polished finishing touches for those new to braiding.
How to Master the Crown Braid
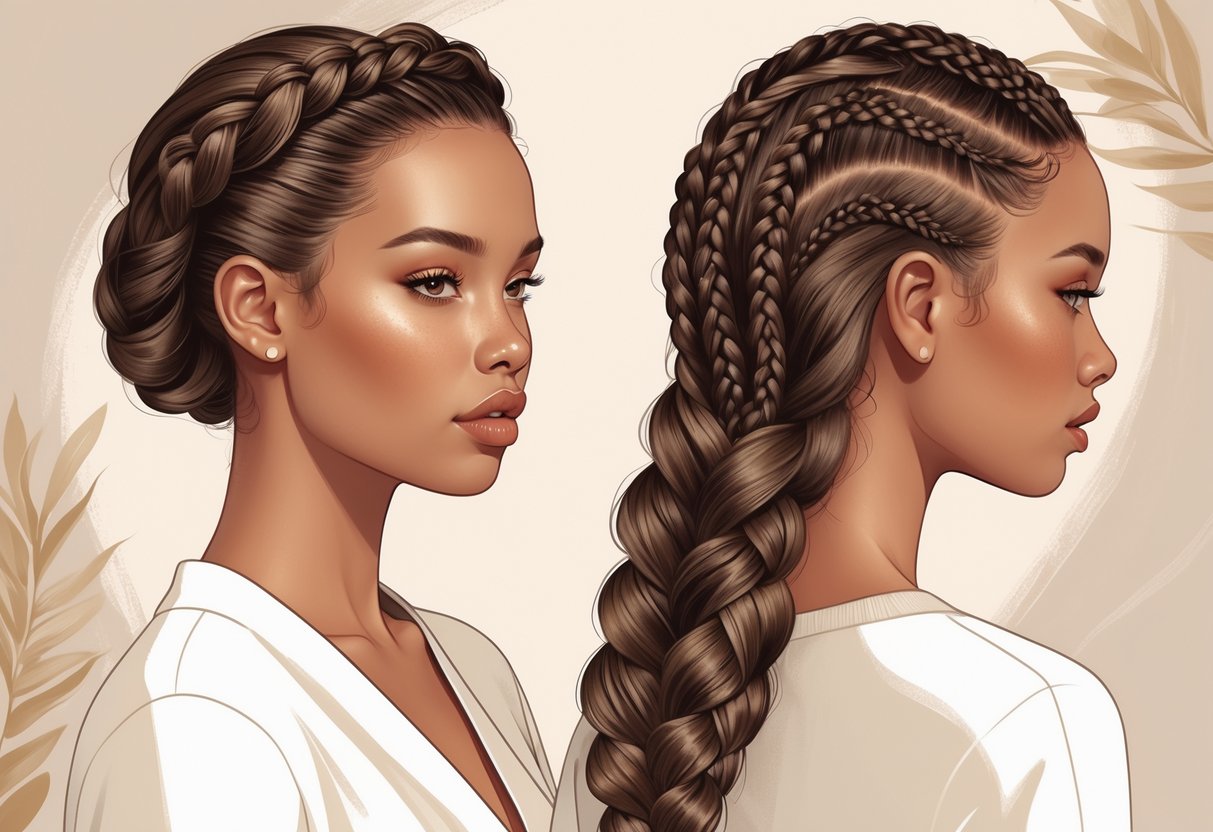
The crown braid, also called a halo braid, circles the head like a headband of woven hair. Begin by parting hair down the middle, then create two simple three-strand braids.
Each braid is wrapped across the front or back of the head and pinned flat with bobby pins for a secure fit. For beginners, a classic three-strand braid is easiest, but a French or Dutch braiding method can offer extra hold.
Keep sections uniform in size for a consistent, neat pattern. The crown braid works with natural textures and provides a polished look for nearly any occasion.
Many find this style ideal for medium to long hair and for decorative flourishes like ribbons or beads. Inspiration and visual tutorials can be found in halo braid guides like the examples featured on Curly Nikki.
Beginner-Friendly Goddess Braids
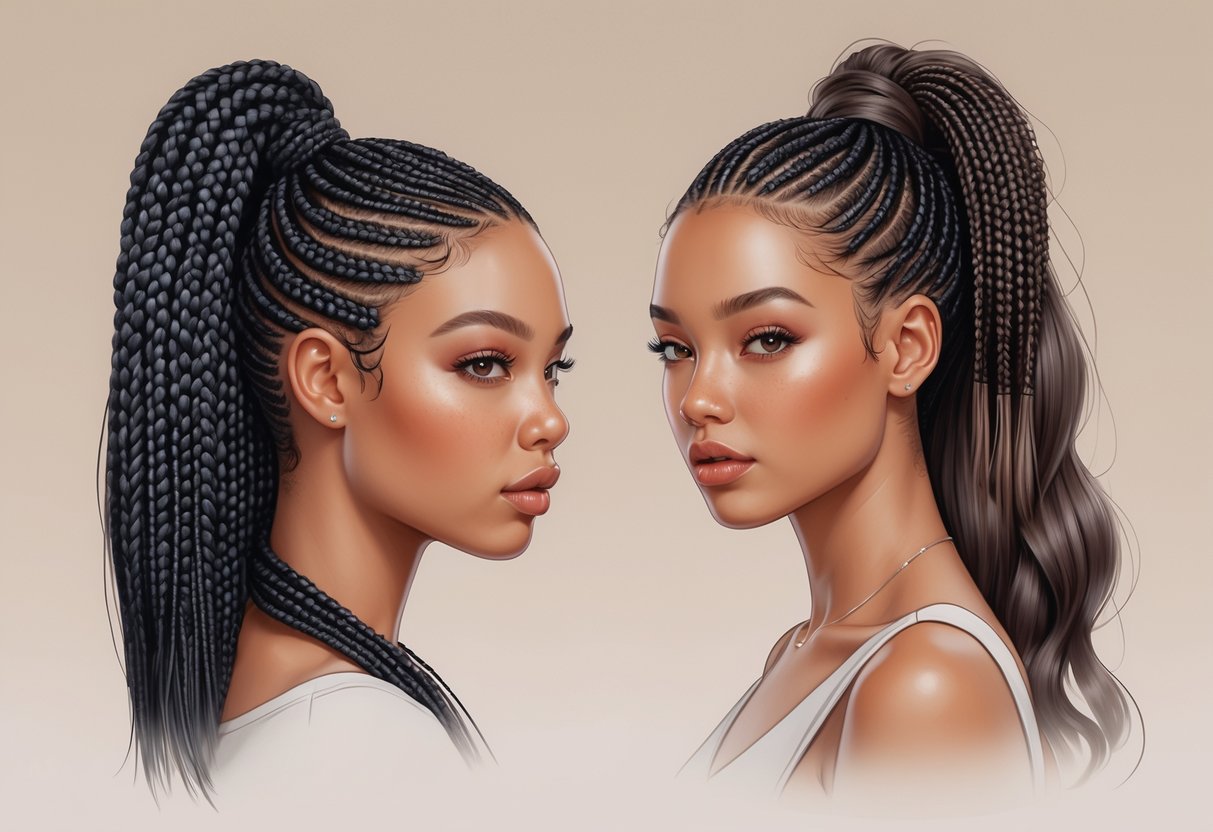
Goddess braids are oversized, defined cornrows arranged close to the scalp. This style often features straight lines, curved designs, or crisscross patterns.
The size and spacing of each braid make handling and parting less intimidating for beginners. To get started, divide the hair into large sections, then braid each part tightly against the scalp.
Using a little hair gel or edge control cream smooths flyaways. Secure ends with small elastics or tucks.
Goddess braids last up to two weeks with proper care and minimal frizz. They suit a range of textures and look great as a single statement piece or as several parallel braids.
For inspiration on unique arrangements, explore photo collections like those on Pinterest’s goddess braids gallery.
Versatile Micro Braids and High Ponytail Hairstyles
Micro braids offer superior versatility and longevity as a protective style. A braided high ponytail delivers both practicality and a sleek appearance, suitable for everyday routines and special occasions.
Achieving Micro Braids at Home
Micro braids involve parting the hair into very small sections and braiding each piece individually. They work best on clean, detangled hair, so it is vital to prepare the hair by washing, conditioning, and stretching it beforehand.
Choosing the right extension hair, such as kanekalon or human hair, ensures seamless blending and a natural finish. Precise sectioning is key—using clips to separate each part can help maintain uniformity and prevent tangling.
The installation process can be time-consuming, often taking several hours, but the results can last for 6–8 weeks with proper care. For beginners, following a step-by-step video guide—such as the techniques shared in the micro braids installation tutorial—can be helpful.
Consistent moisturizing and gentle washing routines will minimize breakage and keep both natural hair and extensions looking their best.
Styling a Braided High Ponytail
A braided high ponytail is both trendy and practical, offering a chic touch to everyday hairstyles. This look starts by smoothing the edges and gathering the braids at the crown of the head using a strong hair tie or elastic band.
For added style, the base can be wrapped with a small section of braids to conceal the elastic and create a neat, finished appearance. Accessories like decorative pins, scarves, or beads can be incorporated for extra flair.
High ponytails are ideal for workouts, work, or formal events and keep hair secure and tangle-free. A high ponytail can be crafted using micro braids, box braids, or other popular styles.
Video inspiration and step-by-step instructions can be found in tutorials dedicated to braided ponytail hairstyles, making the process straightforward even for beginners. Regular maintenance helps the ponytail remain sleek and fresh for days.