Perfecting Your Pre-Color Routine
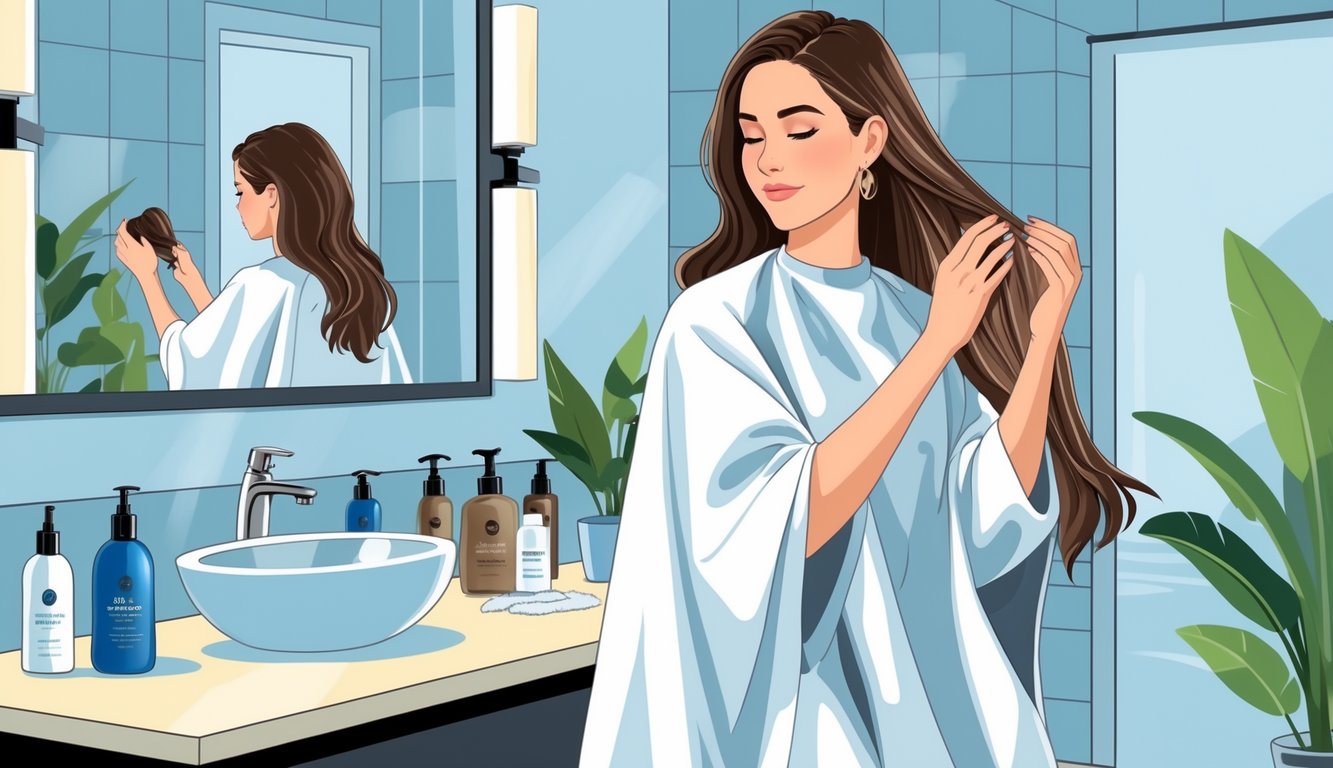
Every time my at-home color job goes sideways, it’s not the dye’s fault—it’s something I rushed or skipped in prep. No sugarcoating: ignoring buildup, skipping moisture, or guessing my “hair type” never helps. Little stuff—removing gunk, checking if your ends are even healthy enough, or figuring out how fried your cuticles are—matters way more than I want to admit.
Understanding Hair Type and Condition
Why does everyone say “just read the box”? If your hair’s nothing like the model’s, what’s the point? Different textures grab dye at totally different speeds. My fine hair soaks up color way faster than my friend’s thick curls. I’ve seen box dye go neon pink on bleached hair—nobody warns you about that. If you’ve bleached, relaxed, or fried your hair with hot tools, it’s not “normal” anymore. Pros call it the “starting canvas,” which sounds pretentious, but it’s true—damage, porosity, and whether your hair’s basically a sponge decide how color turns out.
A color chemist at a tradeshow once told me: keeping keratin isn’t just for shine, it literally keeps color from washing out in days. Aloxxi’s checklist says you should check texture, elasticity, and breakage risk before even thinking about dye. Makes sense. The time I treated my over-dyed, crispy ends as “normal,” the color faded in a week. I almost gave up.
The Role of Deep Conditioning
I don’t get why every stylist online acts like deep conditioning is some sacred ritual, but then nobody can agree on when you’re supposed to do it—three days before coloring? After? I’ve spent way too much on protein packs, slip-heavy masks (some with ceramides, some with fake keratin, whatever), and finally just gave in: doing a deep conditioning thing a couple days before dyeing actually works. My hair’s fried from years of bleach, so it’s screaming for moisture by the time I break out the color. Dry, brittle hair just cracks and looks, honestly, like a mess.
A trichologist (they study hair, but I can’t say the word out loud without laughing) told me split ends and busted cuticles lead to patchy color. It’s like, why even bother if the dye won’t stick? Skipping the mask is amateur hour. Even Garnier’s official advice says slap on a hydrating serum and use sulfate-free, bond-repair masks before coloring. Why don’t they print that in bold on every box? No clue.
Clarifying and Prepping the Hair
My water’s so hard it might as well be liquid chalk. Gentle shampoo? Still leaves junk behind. Clarifying isn’t just a nice-to-have, it’s non-negotiable if you use any styling products or dry shampoo. Nobody warned me that coloring over invisible buildup can turn your hair green. Yeah, that happened. Never again.
Clarifying doesn’t mean you fry your hair to a crisp—those chelating washes for swimmers? They get out the minerals and old dye without nuking your scalp. Took me too many botched bleach jobs to figure out “clean” doesn’t mean “bone dry.” Now I smear Vaseline on my hairline because I’m not about to walk around with a stained forehead. (Thanks, Fraiche Living’s guide for that tip.) Kind of wild how the “right” prep overlaps with expensive salon pre-treatments. Feels like a setup.
Does any of it matter if you’re going for fire-engine red or just a subtle blonde? Apparently, yes. Underestimating prep is the fastest way to ruin even the fanciest dye job at home.
Choosing the Right Color Kit
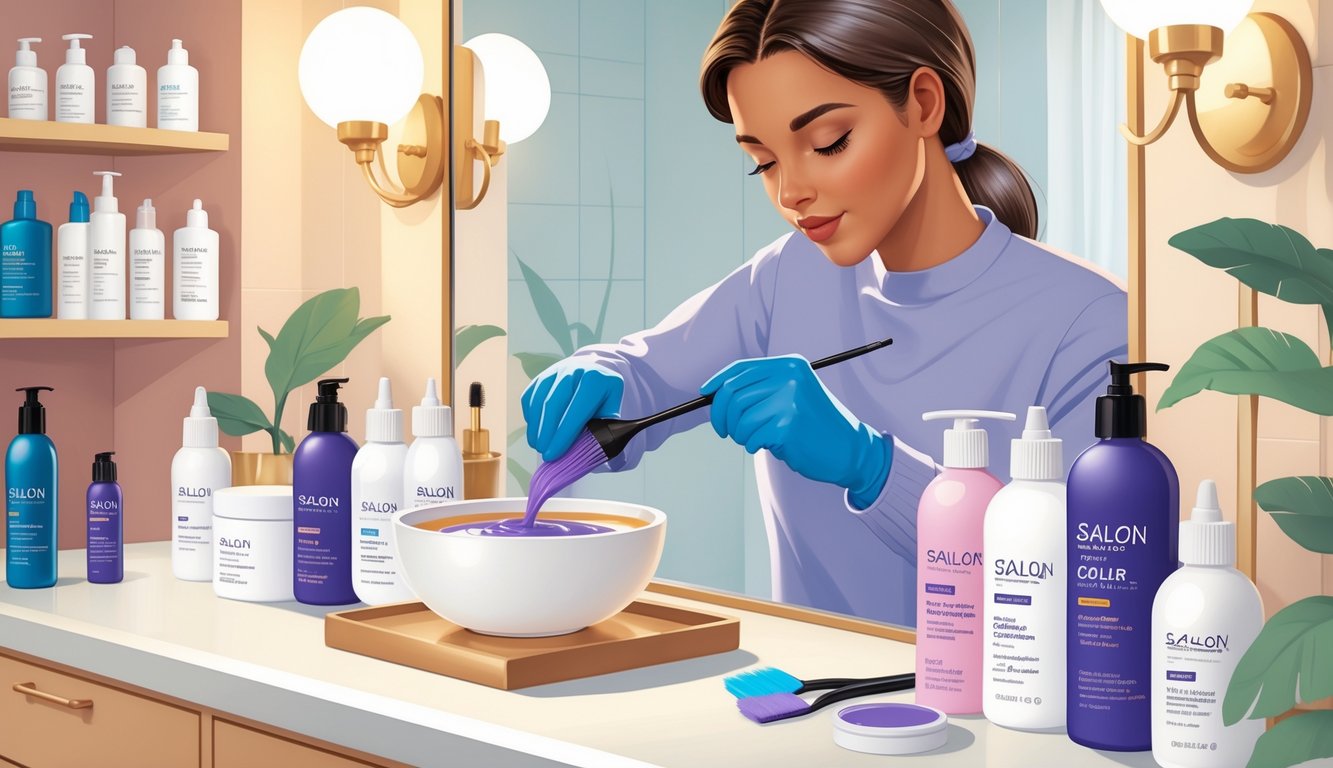
Standing in the pharmacy aisle, flipping boxes and squinting at those fake “before and after” shots—does anyone believe those? It’s never the pretty box that gets me, it’s the weird ingredient lists and undertones that mess everything up. That’s how you end up with hat hair for three weeks.
Permanent vs. Semi-Permanent and Temporary Dyes
I’ve destroyed towels and my dignity mixing up tubes. Permanent dyes? They get deep in the hair shaft and stick around for weeks, but that’s a whole commitment. Garnier Nutrisse says it covers 100% gray—sure, but then roots grow out and suddenly you’re on a maintenance treadmill.
Semi-permanent? That’s my “let’s see what happens” phase. No peroxide, fades out in a dozen washes, won’t lighten anything. Temporary dyes? Two showers and it’s gone. Good for parties, not for anything that needs to last.
I still get confused which is which when I’m tired. My stylist says if there’s no developer tube, it’s probably semi-perm, so don’t freak out. But who’s organized enough to keep track of this stuff after midnight?
Ammonia-Free and Gentle Formulations
My scalp refuses to cooperate. Skip ammonia-free and suddenly I’m scratching my head through dinner. Even the “natural” kits aren’t safe. Brands brag about ammonia-free formulas—IGK’s kit has orchid and bamboo and smells like fruit snacks, but sometimes “gentle” is just marketing.
Nobody’s really checking what counts as gentle. Unless an actual scientist tells me “low pH, less breakage,” I’m skeptical. I fell for the “vegan dye is safer” thing once. Total lie. Vegan dyes can still torch your ends if the peroxide’s cranked up. “Gentle” means less harsh, not harmless.
Patch test. Seriously, just do it. Rub a bit on your elbow. Nobody does, but you’ll regret it if you skip. Even the best blends can set your scalp on fire if you’re sensitive. Definitely don’t try it the night before a big event. Ask me how I know.
Spotlight on Professional Brands
I gave in and tried one of those “pro” salon kits—big influencer energy, lots of warnings, feels like a science experiment. Some, like IGK Permanent Color Kit, are made by real colorists and have a whole buffet of ingredients: squalane, bamboo, orchid, whatever. All promising “shine.” What does that even mean?
Price? Doesn’t mean much. Pro kits with step-by-step guides don’t always beat out old-school Garnier or Clairol. Ingredient lists matter more, honestly. If you can, bug a colorist for tips—like, “go half a level warmer if your roots get brassy.” Weirdly, that works.
Too many choices just make me question everything. IGK, Garnier, dpHUE—they all scream “salon-grade,” but the results? Depends on your hair, your timing, your luck, and maybe what you had for breakfast.
Selecting the Right Shade for Skin Undertones
Undertones. Why is this so hard? “Cool brown” or “warm honey” sounds simple until your face looks like you’ve got the flu. If your veins look blue, you’re cool-toned. Green? Warm. But who’s checking veins under terrible bathroom lighting?
Brands try to help: “golden blonde for peachy skin,” “ash brown for olive,” but neutral undertones like mine get ignored. I picked “medium beige blonde” once and ended up with greenish hair. Not joking. The jewelry trick—silver for cool, gold for warm—sometimes works, but lighting ruins everything. My kitchen turns every dye orange.
Just accept you’ll mess up at least once. Shade charts are suggestions, not rules. Seeing a pro helps, but if I’m winging it, I go half a shade lighter than the chart and avoid “warm” unless I look like a ghost. Nobody gets it right every time.
Key Tools and Accessories for Success
Nobody cares how much you spent on dye if you’re still making a mess and hunting for the mixing bowl. Last time, I spent an hour scrubbing developer off a light switch. Tools matter. Every kit leaves something out, and ignoring the little details just ruins your chances at a decent result.
Applicators and Gloves
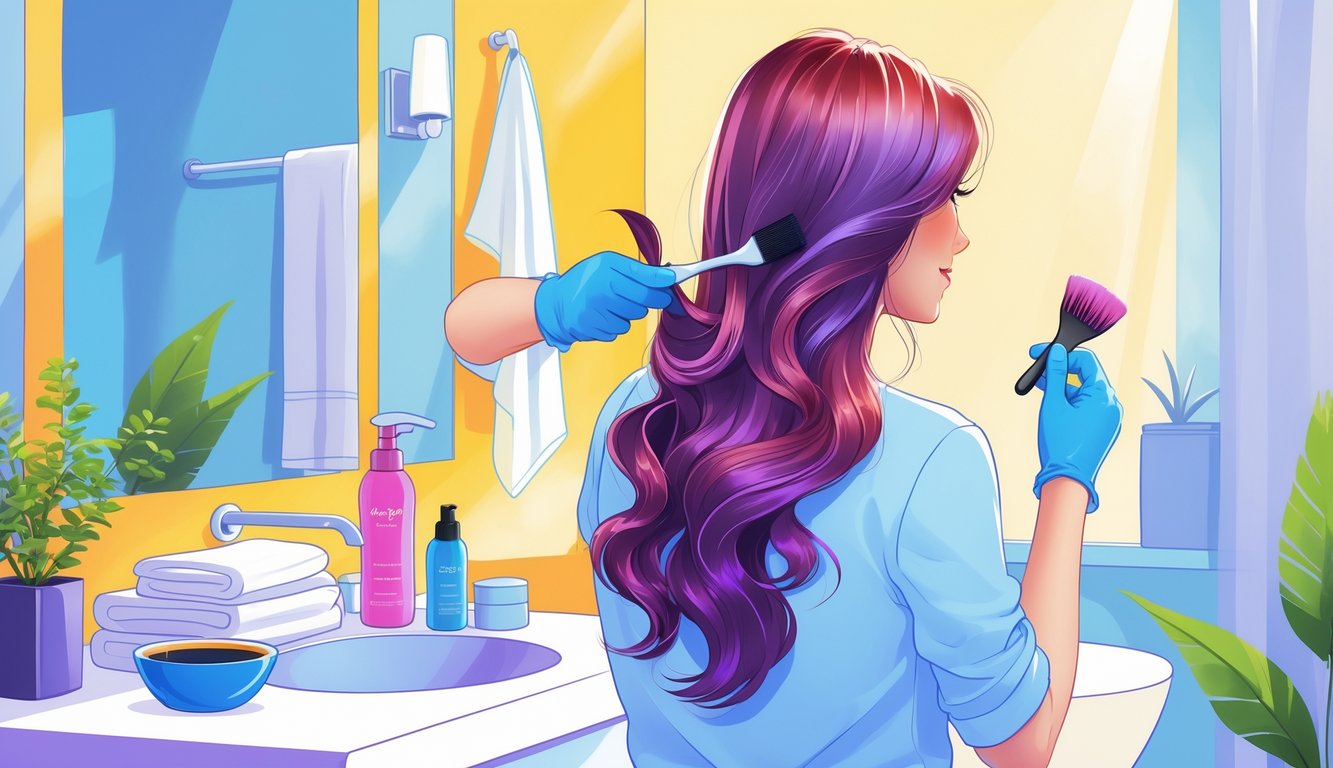
Applying color with bare hands isn’t edgy, it’s just dumb. Dermatologists warn you, but I still see people skipping gloves and then complaining about itchy wrists. Nitrile gloves? They don’t rip. Latex sometimes does. Trust me, go nitrile.
And applicators—those squeeze bottles in home kits are useless. I switched to a pro brush bottle and suddenly coverage is way better. Squeeze bottles with different caps are good for roots, but don’t expect miracles if your hair’s thick or curly. Gloves from your salon-quality kit? Total lifesaver. No more eczema, at least for me.
Is it just me or do powder-free gloves smell weird at 8 a.m.? The smell lasts longer than the color.
Brushes for Precise Application
Brushes. Everyone says precision is about the brush, but honestly, it’s about what the brush doesn’t do. Cheap ones dump too much product, boar bristle ones glide but cost more than the dye. Why aren’t there more reviews on these? Angled synthetic brushes are best for edges and grays.
Using a decent tint brush instead of the plastic thing in the box made my roots and hairline look deliberate, not accidental. A colorist told me most blotches happen because of the wrong brush. Wide brushes for big sections, thin ones for highlights—saves me at least twenty minutes.
My cat always chews the best brush and then acts shocked when her fur turns pink.
Mixing Bowls and Developer
Mixing color in the bottle? That’s how you ruin T-shirts. I used a wine glass once (don’t), but after a colorist friend showed me how to use marked bowls, my roots stopped fading so fast.
Plastic or glass bowls work best—color blends better, developer doesn’t oxidize too soon, and you can actually use all the product. Used metal once—ended up with green-tinted ends. There’s a reason everyone says don’t use metal.
Developer ratios matter. 1:1 isn’t a conspiracy—get lazy and you’ll be half a shade off. For mixing, specialist kits come with bowls and brushes, so you just pour and go.
Sometimes I wonder if my dog even recognizes me in a shower cap.
Sectioning and Timing Tools
Sectioning clips: I lose them constantly. Without those big alligator clips, coloring turns into chaos, especially if you’re doing highlights or roots. TikTok stylists always brag about “clean lines.” Use big clips and you’ll see why—less mess, less stress.
And timers. Don’t count on your phone—you’ll get distracted and forget, then end up with brassy ends. Digital timers (like the pro ones with batteries) let you walk away without panic.
Nobody uses egg timers anymore, right? The ticking freaks out my puppy.

